
Introduction
Different marketplaces have different image requirements, including image dimensions, aspect ratios, background colours and the number of images allowed.
Omnivore’s image editing tools allow you to update a product’s marketplace images directly from the Product Details page. You can:
- Crop images
- Resize images
- Change the background colour
- Reorder images
- Add additional images by adding a URL or uploading from your files
- Remove images
This helps you meet marketplace requirements without needing to update the original images in your ecommerce platform.
How to access the image editing tools
- In Omnivore, in the left nav menu go to Products - then select the marketplace you are working with.
- Find product you want to update (search by SKU, Keyword etc) then click on the product title to open the Product Details page.
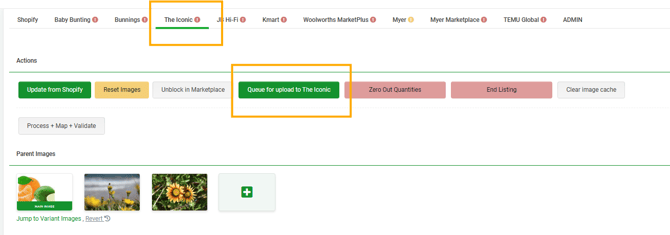
- On the Product Details page, the Parent images are at the top of the page, Click the image to edit (crop, resize, change background) or click the + to add an image.
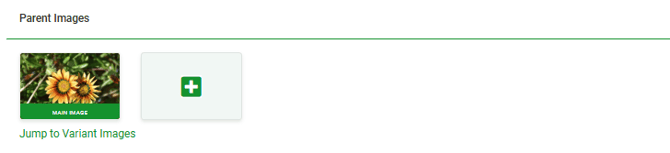
- Variant Images are in the Variant section - scroll down to access.
Add additional image(s)
- From the Product Details page, click the green and white + icon to open the image management window.
- Click Add Image.
- Enter or paste the URL of the image you want to add then click ADD
- Alternatively, click 'Browse files' or drag and dop.
- Click Add.
- The new image will appear at the end of the product’s image list.
- Reorder the image if it needs to appear in a different position.
- Click Accept to save changes or discard if you make a mistake.
The image URL should link directly to a publicly accessible image and should not require a login.
Reorder Images
- From the Product Details page, click on any image to open the image management window.
- Locate the image you want to move.
- Use the Left and Right arrows to move the image to the left or right.
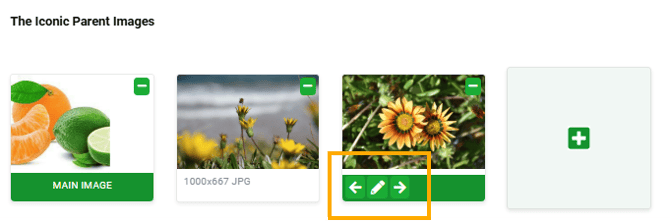
- Click Accept to save changes or discard if you make a mistake
Hero Images
- From the Product Details page, click on any image to open the image management window.
- Locate the image you want to move.
- Use the Left arrow to move the image to the far left position.
- Click Accept to save changes or discard if you make a mistake
Crop images
Cropping the image will simply cut the image downto the size you want.
- From the Product Details page, click on any image to open the image management window.
- Locate the image you want to crop and click the pencil icon to edit
- Drag the crop frame to select the part of the image you want to keep.
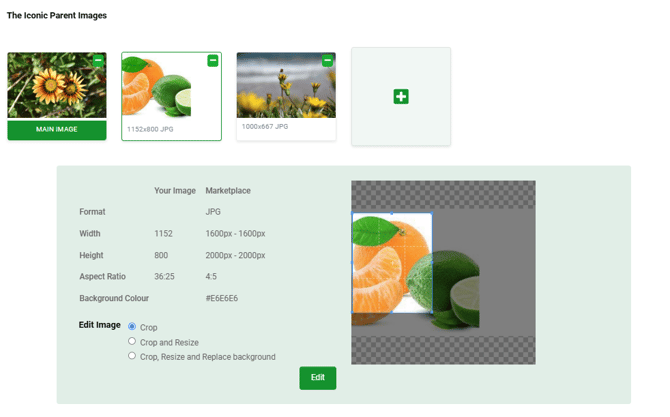
- Click Edit
- Click Apply to save changes or discard if you have made a mistake.
Crop and Resize images
Cropping and resizing the image will use the part of the image you have selected and then resize it to meet the maketplace requirements.
- From the Product Details page, click on any image to open the image management window.
- Locate the image you want to crop and click the pencil icon to edit
- Drag the crop frame to select the part of the image you want to keep.
- Select Crop and Resize
- Click Edit
- Click Apply to save changes or discard if you have made a mistake.
Change the background colour
The colour of the background will be replaced with the marketplace required colour, most marketplaces want white.
- From the Product Details page, click on any image to open the image management window.
- Locate the image you want to crop and click the pencil icon to edit
- Drag the crop frame to select the part of the image you want to keep.
- Select Crop, Resize and Replace Background
- Click Edit
- Click Apply to save changes or discard if you have made a mistake.
Remove images
- From the Product Details page, click the green and white + icon to open the image management window.
- Click the green and white minus icon.
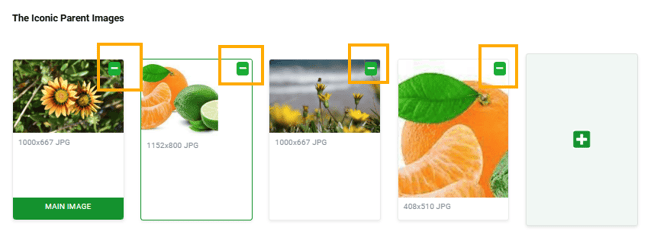
- Click Close and Accept to save. Discard if you don't want to save changes.
Send the changes to the marketplace
After completing your image changes:
- Review the hero image, image order and all edited images on the marketplace tab.
- On the product details page for most marketplaces there is an upload to marketplace button. Use this or go to the dashboard and click 'Upload to marketpalce'
Existing Omnivore workflows generally require the product to be uploaded after marketplace-specific changes are made. The marketplace may take additional time to process and display the new images.
Feature Availability by Marketplace
These features are being rolled out to individual marketplaces. Here is a table to show which feature is available for each marketplace.
| Marketplace | Add additional images, Reorder, Remove | Crop, Resize | Change Background |
| The Iconic | Yes | Yes | Yes - to Lavender |
| Myer Marketplace | Yes | Yes | Yes - to white |
| Woolworths MarketPlus | Yes | Yes | Yes - to white |
| Bunnings | Yes |
Yes |
|
| JB Hi Fi | Yes | Yes | |
| Kmart | Yes | Yes | Yes - to white |
| Baby Bunting | Yes | Yes | |
| Uber Eats | Yes | Yes | |
| Trade Me NZ | Yes | Yes | |
| Amazon | |||
| eBay | |||
| Kogan | Yes | Yes | Yes - to white |
| David Jones | |||
| TEMU AU | |||
| Medcart | |||
|
Onceit |
|||
| Lasoo | |||
| Qantas | |||
| The Warehouse Group | |||
Bulk Editing for Images
Omnivore also supports automatically upscaling ALL images to meet the marketplace size requirements. This is available for Kmart, Myer Marketplace and Bunnings on request.